
TLDR
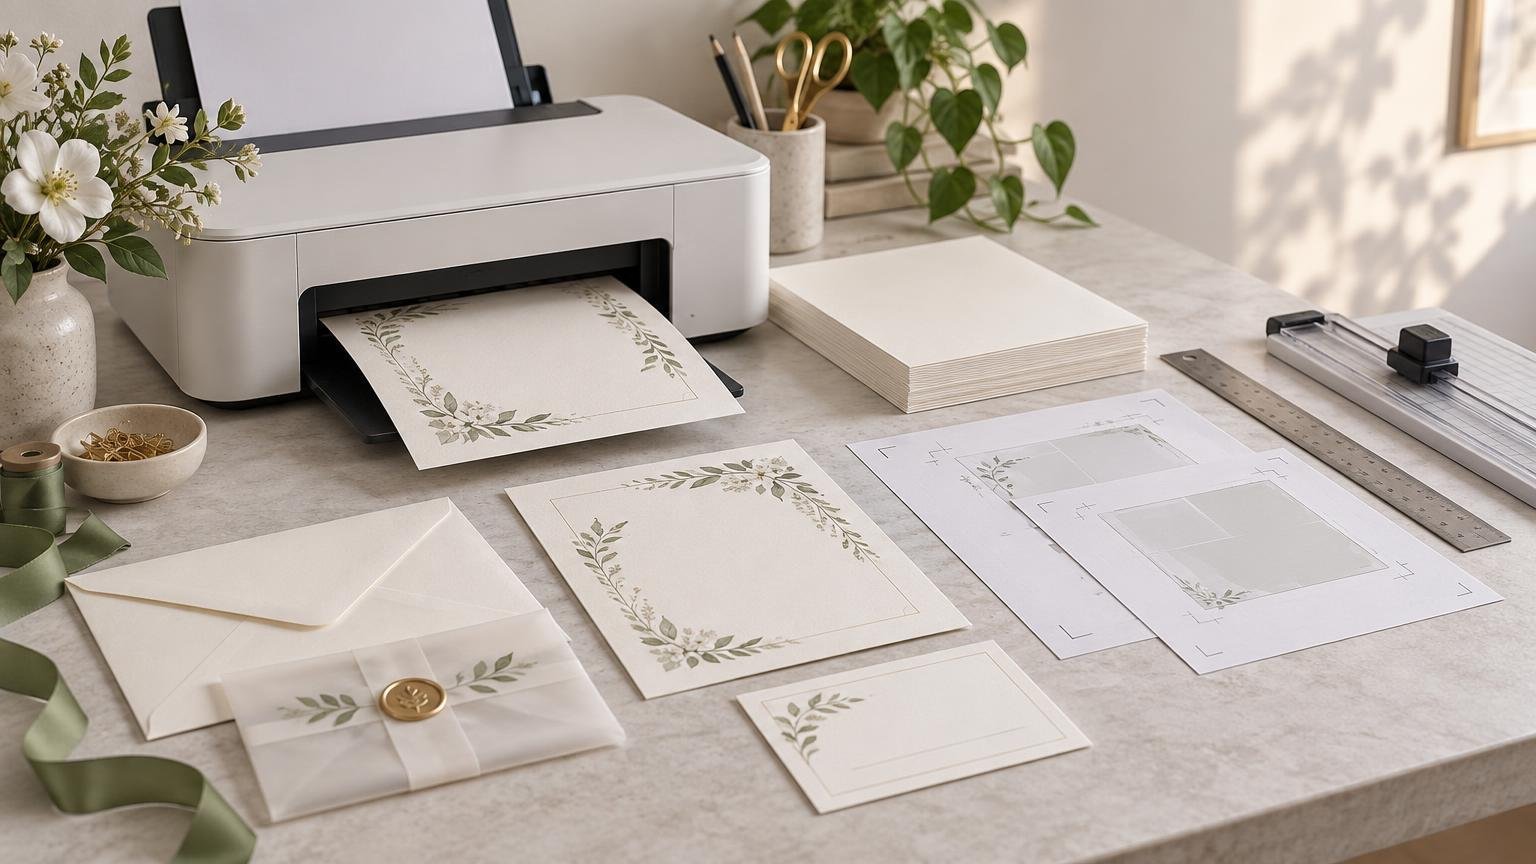
Learning how to print invitations at home starts with one rule: do not send the full batch to the printer until one complete sample has passed every test. Confirm the file size, use paper supported by your specific printer, print on plain paper first, test front-and-back orientation, and assemble one invitation with every insert and envelope. If the project involves demanding cardstock, precise two-sided alignment, specialty finishes, a large quantity, or a firm deadline, professional printing may be the safer choice.
Home printing works best when the invitation is structurally simple and you have time for testing. The biggest risks are rarely the obvious ones. A design can be perfectly proofread yet print at the wrong size, a beautiful cardstock can refuse to feed, or an aligned front can produce an upside-down back. A disciplined test process catches those problems before they consume the good paper.
Before printing, inspect the invitation file
Start by identifying what the file actually contains. Is it one invitation at its finished dimensions, or a letter-size sheet with two or more cards arranged on it? Is there a separate page for the back? Are crop marks visible? Does the artwork extend beyond the intended cut line to create bleed?
Bleed is artwork that extends past the trim edge so a small cutting variation does not leave an unwanted white sliver. The trim line is where the card should be cut. The safe area is the space inside that line where important text and design elements should remain. If the design has color running to an edge but no bleed, ask the designer or template seller for a print-ready file rather than enlarging it blindly.
Check the document dimensions in your PDF viewer or design application. A file intended to become a 5-by-7-inch card should either have a 5-by-7-inch page or be deliberately imposed on a larger printable sheet. A 5-by-7 invitation paired with an A7 envelope is a common arrangement, but the card and envelope specifications should still be checked before ordering supplies.
Proofread the exported file, not only the editable design. Review names, date, day of the week, time, venue address, RSVP deadline, reply instructions, website address, dress code, and any meal or accommodation information. Use an invitation paper guide only after the wording and dimensions are stable; changing the layout later can alter line breaks and spacing. For a more systematic review, follow this invitation proofreading process.
How to print invitations at home at the correct size
For a correctly sized PDF, the usual goal is to preserve its dimensions rather than make it fill whatever sheet is loaded. Adobe documents that Actual Size prints without scaling, while Fit resizes the page to fit the printable area. Adobe also warns that Actual Size can crop content if the page does not fit the selected paper. You can review Adobe’s explanation of Actual Size and Fit settings for PDFs before printing.
That distinction explains many undersized invitations. If a 5-by-7 design is placed on a larger PDF page, choosing Fit may scale the entire page rather than treating the invitation artwork as a separate object. Conversely, selecting Actual Size will not rescue artwork that was exported at the wrong dimensions.
- Select the physical sheet size loaded in the printer, such as letter-size paper or a supported precut card size.
- Choose Actual Size or 100% only after confirming that the PDF itself has the intended dimensions.
- Turn off options such as Fit, Shrink Oversize Pages, or Scale to Printable Area unless resizing is intentional.
- Print one plain-paper copy and measure the intended trim width and height with a ruler.
- Place the test over a correctly sized envelope or cut a rough sample to confirm the finished proportions.
Most home printers cannot print all the way to every paper edge unless they support borderless output for that particular size and paper setting. If the invitation has full-bleed artwork, it is often easier to print on a larger sheet and trim it down. Do not assume that selecting a borderless setting is harmless: some printer drivers enlarge artwork slightly to push ink beyond the edge, which may change margins or crop details.
Choose paper based on the printer, not appearance alone
The printer manual and manufacturer’s current paper specifications should decide what you test. Cardstock varies in thickness, stiffness, coating, texture, and grain direction; two sheets marketed at a similar weight may feed differently. Printer support is also model-specific, so there is no universal cardstock weight that every home printer can handle.
Buy a small sample or test pack before committing to the full quantity. Smooth uncoated stock is often the simplest starting point because it removes some of the feeding and surface variables, but it is not guaranteed to work in every machine. Textured paper can soften fine type and small details, while coated or specialty surfaces may not be compatible with the printer’s ink or toner system. This comparison of textured and smooth invitation paper explains how surface choice affects the printed result.
Use the printer’s recommended feed path and select the closest accurate paper type in its settings. A rear or manual feed may provide a straighter path when the model offers one, but availability and supported media differ. Never force a sheet into the mechanism. If the printer repeatedly slips, jams, marks the surface, or bends the corners, choose a different paper or production method.
Make a plain-paper test before using cardstock
A plain-paper test is not meant to predict the final color or tactile result. It is a low-cost way to catch structural errors. Print one copy, cut it roughly, and review it at normal reading distance as well as close up.
- Measure the finished card area instead of trusting the print-dialog preview.
- Confirm that no text, borders, or artwork are unexpectedly cropped.
- Check that small type is readable and thin lettering remains intact.
- Inspect photographs and dark backgrounds for blocked shadows or lost detail.
- Cut along the proposed trim lines and verify that the design still feels centered.
- Scan every QR code from the physical print with more than one phone if possible, then confirm that the destination is correct and accessible.
- Place the cut sample in the intended envelope and confirm that it slides in without bending.
Screens produce light, while paper reflects it, so an exact visual match should not be assumed. Paper color, surface, printer behavior, and room lighting can all affect the result. If color is central to the design, read why invitation colors can change from screen to print and make a cardstock test before approving the run.
Test double-sided printing with marked sheets
Duplex printing creates two separate risks: orientation and registration. Orientation determines whether the back is upright. Registration describes how closely the back aligns with the front. A home printer can feed each sheet with small variations, which becomes especially noticeable when a design uses narrow borders or elements that must line up precisely.
Draw an arrow and label one side of a plain sheet, then print a simple test. Note which edge enters the printer first and which face receives the print. For manual duplexing, use that marked result to determine how the sheet must be reloaded. Printer options such as flipping on the long edge or short edge depend on the document orientation, so do not choose one by habit.
Once the orientation is correct, print and cut one complete front-and-back invitation. If the back is slightly shifted, decide whether the layout can tolerate that variation. A borderless color field is more forgiving than a thin frame intended to sit evenly around all four edges. Keep correctly printed pairs together, and do not begin the full run until both sides have been approved.
Print and trim the final batch in controlled groups
Print in small groups rather than loading every sheet at once. This lets you catch changes in feeding, ink coverage, orientation, or surface marking before the problem affects the whole quantity. Follow the printer and paper manufacturers’ handling guidance, and avoid stacking or rubbing freshly printed sheets until the surface is stable.
A paper trimmer with a clear measurement guide is more repeatable than scissors. Trim one master sample first, verify its dimensions, and use the same measured cut sequence for the batch. For example, remove the same outer edge from every sheet before moving the guide for the next cut. Rechecking the finished measurement periodically helps prevent small positioning errors from accumulating.
Count invitations by mailing household or address, not simply by guest count. Add extras for cutting mistakes, addressing errors, late additions, keepsakes, and replacement mailings. If producing those extras makes the quantity or workload uncomfortable, compare other places to print invitations before buying all the materials.
Assemble one mail-ready invitation before buying postage
Postage depends on the finished mailpiece, not the invitation card by itself. Put the invitation, RSVP card, details card, liners, and any other pieces into the actual envelope. Seal or close it as it will be mailed, then measure and weigh that complete sample.
The USPS Quick Service Guide lists letter dimensions as 5 to 11½ inches long, 3½ to 6⅛ inches high, and 0.007 to ¼ inch thick, with a maximum First-Class Mail letter weight of 3.5 ounces. Meeting those outer limits does not by itself establish the exact postage or confirm that a piece is machinable. Shape, rigidity, thickness variation, aspect ratio, and other physical characteristics can affect classification.
Take a finished sample to USPS or consult current official standards when the envelope is square, unusually thick, rigid, uneven, embellished, or otherwise outside a straightforward rectangular format. Use the current USPS Quick Service Guide as a starting point, and determine postage from the completed piece rather than relying on a generic invitation estimate.
When professional printing is the better decision
Outsourcing is not automatically necessary, nor is it automatically better. It becomes practical when the cost of a failed batch, missed deadline, or inconsistent result outweighs the control gained from doing the work yourself.
| Home printing is a reasonable fit when | Consider professional printing when |
|---|---|
| The quantity is modest and you have time to test | The quantity is large or the mailing deadline is firm |
| The layout is simple and tolerates minor feed variation | Front-to-back registration or narrow borders must be precise |
| Your printer reliably handles the chosen stock | You want thick, specialty, textured, or difficult media |
| Standard ink or toner output suits the design | The design needs specialty production or finishing |
| You are comfortable trimming every card | Consistent cutting across a coordinated suite is important |
| A cardstock proof meets your color expectations | Color-critical artwork or dark, ink-heavy coverage is central |
A coordinated suite can include the main invitation, RSVP card, details card, envelopes, and related stationery. Each added component creates another size, paper, trimming, and assembly decision. A professional service can reduce those production tasks, although you should still verify current stock, file, proofing, turnaround, shipping, and policy details before ordering.
PrintInvitations states that its ordering process includes a free digital proof. A proof can help catch content and layout problems before production, but it does not replace your responsibility to verify names, dates, addresses, and final wording. If you are still weighing the workflow, compare custom printed invitations and editable templates based on time, equipment, quantity, and tolerance for hands-on finishing.
Final home-printing checklist
- The exported PDF has been proofread and its page dimensions are understood.
- The selected paper size and Actual Size or 100% setting produce the intended measurements.
- A plain-paper test has been measured, cut, folded if necessary, and placed in the envelope.
- The chosen cardstock has successfully passed through the specific printer.
- Color, type, photographs, borders, crop boundaries, and QR codes have been checked on the real stock.
- Front-and-back orientation and alignment have been approved on one finished card.
- The trimming sequence and quantity of spare copies are planned.
- One fully assembled mailpiece has been measured, weighed, and checked against current postal requirements.
The safest next step
Print one invitation all the way through before deciding that the setup works. Use the actual cardstock, print both sides, trim it, assemble every insert, put it in the real envelope, and test the mailing format. If that sample is clean, readable, correctly sized, and repeatable, proceed in small batches. If it exposes feeding problems, scaling errors, unreliable alignment, difficult trimming, or deadline risk, outsource before more time and paper are committed.