You can absolutely upload your own wedding invitations and get a polished printed result, but the file has to be set up correctly before it goes to print. The big things are simple: use the final size, add bleed, keep text away from the edge, export a print-ready PDF and review the proof carefully before approving.
Upload Your Own Wedding Invitations Without Making The File Weird
If you want to upload your own wedding invitations, you are probably coming from one of three places: Canva, Etsy or a designer who sent you finished artwork. All three can work beautifully. All three can also create tiny little print gremlins if the file was built for a screen instead of paper.
The good news is that invitation file setup is not magic. It is mostly about size, bleed, resolution, color and proofing. Not glamorous, but very useful. Kind of like good shoes at a wedding.
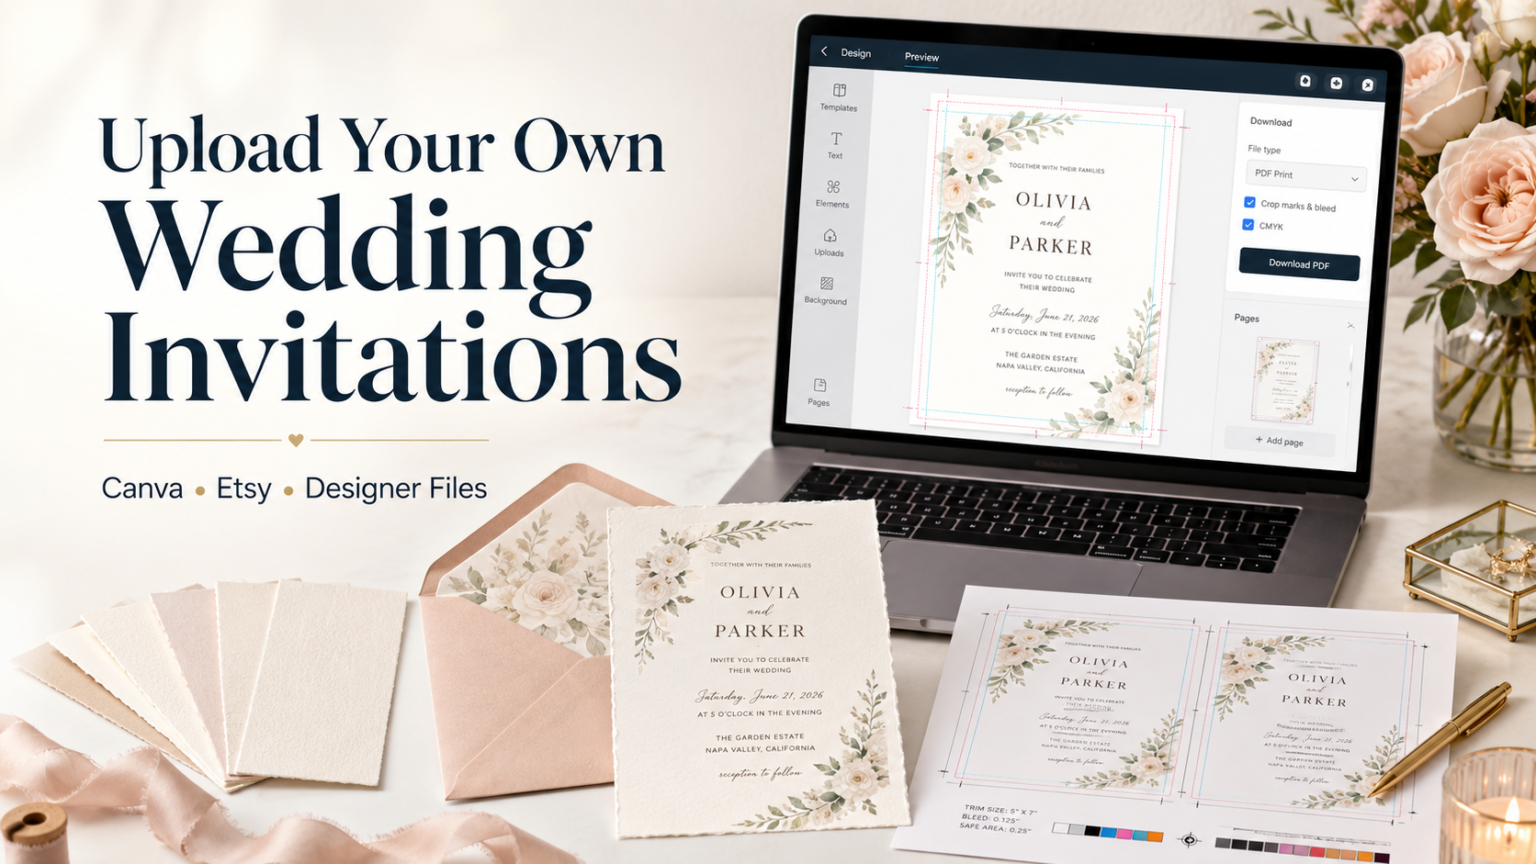
At PrintInvitations, you can start with a template or upload your own finished artwork. Every order includes a free digital proof before printing, so you get a chance to review the layout, spelling and overall look before the order moves forward.
What “Upload Your Own” Actually Means
Uploading your own invitation usually means you already have a finished design and just need it printed professionally.
That design might be:
A Canva design you made yourself
A Canva template you bought on Etsy
A downloadable PDF, JPG or PNG from an Etsy seller
A file from a wedding stationer or graphic designer
A design you built in Adobe Illustrator, InDesign, Photoshop or another design program
The goal is to send the printer a file that is already the correct size, has enough image resolution and includes enough extra artwork around the edges to trim cleanly.
That last part is where people get into trouble.
Start With The Final Invitation Size
Before you export anything, confirm the final trimmed size of the invitation. Common wedding invitation sizes include 5 x 7 inches, 4.25 x 6 inches and 5.5 x 8.5 inches, but your exact size depends on the product you are ordering.
Do not build a random rectangle and hope the printer can “make it work.” That is how you get stretched fonts, awkward cropping or a border that looks like it had a rough weekend.
For a standard 5 x 7 invitation, your final trim size is 5 inches wide by 7 inches tall. If your design has artwork, color or a photo going all the way to the edge, your uploaded file should usually be larger than that because it needs bleed.
Bleed, Trim And Safe Area
These three terms matter more than almost anything else.
Trim size is the final finished size after the invitation is cut.
Bleed is extra artwork that extends past the trim edge so the color or image can print all the way to the edge.
Safe area is the inner zone where important text, names, dates, QR codes and small details should stay.
A common bleed setup is 0.125 inches on each side. So a 5 x 7 inch invitation with bleed would usually be set up as 5.25 x 7.25 inches. The final card is still 5 x 7, but the file includes extra artwork around the outside.
Keep important text at least 0.125 to 0.25 inches inside the trim edge. More space is better if the design allows it. Delicate script fonts sitting right near the cut line are brave, but not in a good way.
Canva File Setup For Wedding Invitations
Canva is one of the easiest ways to design invitations, which is exactly why so many couples use it. It is friendly, fast and not trying to make you learn 47 panels named things like “preflight.” A gift, honestly.
But Canva files still need to be exported correctly.
Use these settings as your starting point:
Create the design at the final invitation size.
Turn on margins and bleed while designing.
Stretch background colors, photos and artwork past the trim edge into the bleed area.
Keep all names, dates, addresses and RSVP details inside the safe area.
Export as PDF Print when possible.
Include crop marks and bleed if the printer requests them.
Choose the highest quality download settings available.
If Canva gives you color options during export, CMYK is usually the safer print choice. RGB can still print, but very bright screen colors may shift because screens glow and paper does not. Screens are charming little liars.
For Canva wedding invitations, avoid uploading a screenshot. Screenshots are usually low resolution, often the wrong size and almost never include proper bleed. They can look fine on your phone and still print soft or fuzzy.
Etsy Invitation Template Setup
Etsy is full of wedding invitation templates, including Canva templates, editable PDFs and finished digital downloads. Some are excellent. Some are pretty but not especially print-ready. The listing description matters.
Before buying an Etsy invitation template, check for:
The included file type
The invitation size
Whether bleed is included
Whether it is editable in Canva or another tool
Whether fonts are included or linked
Whether front and back designs are both included
Whether the seller mentions professional printing
Whether the download is instant or made-to-order
After purchase, Etsy digital files are usually available through your Etsy account purchases. If the seller provides a Canva link, open the template in Canva, make your edits, then export a fresh print-ready file. Do not upload the Etsy preview image from the listing. That is usually not the real print file.
Also, check every line after editing. Etsy templates often include placeholder wording, sample names and decorative text blocks. Nothing says “romantic keepsake” like accidentally inviting people to celebrate the marriage of Emma and Liam when your names are very much not Emma and Liam.
Designer Files: What To Ask For
If a designer or stationer is creating the artwork for you, ask for a print-ready PDF with bleed. That is usually the cleanest handoff.
A good designer file should include:
Final trim size
Bleed on all sides
Crop marks if requested
Embedded or outlined fonts
High-resolution images
Separate files or clearly ordered pages for each card
Front and back files if the design is double-sided
Clear naming, such as main-invitation-front.pdf or rsvp-card-back.pdf
If the invitation includes foil, special finishes or unusual paper, ask the designer to separate those instructions clearly. Foil is not the same as printing gold-colored ink. A flat gold color can look nice, but real foil is a separate finishing process.
Image Resolution: Keep It Sharp
For print, aim for about 300 pixels per inch at the final printed size.
For a 5 x 7 inch invitation, that means the design should be around 1500 x 2100 pixels at the final trim size. With 0.125 inch bleed on every side, a full-bleed 5.25 x 7.25 inch file would be about 1575 x 2175 pixels at 300 PPI.
If your invitation has a photo, make sure the original photo is sharp enough. Photos pulled from social media, screenshots, text message previews or old compressed uploads can look soft in print.
A few warning signs:
The image looks blurry when zoomed in.
The file size is tiny.
The design was downloaded as a low-quality JPG.
The text is part of a flattened low-resolution image.
The artwork was resized upward a lot.
Small text should be actual vector text or high-resolution raster text. If tiny names or addresses look fuzzy in the file, they will not magically become crisp on paper. Printers are good, but they are not wizards with tiny hats.
Color Expectations For Uploaded Wedding Invitation Files
Color is one of the most common surprises when couples upload their own wedding invitations.
A design may look brighter on your laptop or phone than it does on paper. That is normal. Screens use light. Paper uses ink or toner. Very bright blues, neon colors and glowing gradients often soften in print.
Paper also changes how color feels. Smooth stocks usually keep text and fine details crisp. Textured stocks can make a design feel warmer or more elegant, but they may slightly soften ultra-fine details. Pearlescent paper can add shimmer. Matte finishes reduce glare. Gloss can add brightness and reflectivity. Foil adds metallic contrast when used intentionally.
The best approach is to design with print in mind from the beginning. Use good contrast, avoid ultra-thin pale text and remember that soft beige on ivory paper may look lovely online but disappear in real life if it is too subtle.
Paper And Finish Choices For Uploaded Designs
When you upload your own artwork, paper choice still matters.
Smooth stock is usually best for clean modern layouts, small type, fine linework and photo-heavy designs.
Heavier cardstock gives the invitation more substance in hand and works well for formal designs.
Felt and eggshell stocks add texture and suit romantic, classic or traditional designs.
Pearlescent stocks add a gentle shimmer and can work well with floral or dressier artwork.
Natural finishes feel softer and more understated.
UV matte creates a polished look without much glare.
UV gloss can make colors feel brighter and more reflective.
Satin sits between matte and gloss.
Foil works best for selected accents like names, borders, monograms or small decorative details.
If your file has a lot of tiny script, delicate line art or soft pastel color, paper choice can affect readability. When in doubt, smoother paper is usually the safest print-first option.
What To Check On Your Digital Proof
The proof is not just a formality. It is your last calm moment before the invitations become real objects in a box.
When your proof arrives, check:
Names and spelling
Date and day of week
Ceremony time
Venue name and address
RSVP deadline
Website URL
QR code placement and scanability
Text alignment
Margins and safe area
Front and back orientation
Any crop or trimming concerns
Color expectations
Do not only look at the pretty part. Read every word out loud. Have someone else read it too. Your brain loves autocorrecting familiar text, which is very rude of it.
A free digital proof helps catch layout issues, wording mistakes and obvious file problems before production. If you are comparing paper options or want to feel the actual stock, a physical proof or sample can also be useful.
The Best File Types To Upload
A print-ready PDF is usually the best option for wedding invitations. It preserves layout better than most image formats and can keep text and vector elements sharper.
Good upload options usually include:
PDF Print
High-resolution JPG
High-resolution PNG
Packaged designer files only if specifically requested
For most customers, PDF is the easiest and safest. JPG and PNG can work if they are exported at the correct size and resolution, but they flatten everything into an image. That means small text can become less crisp if the export quality is low.
Avoid:
Screenshots
Phone photos of a printed design
Low-resolution web images
Watermarked previews
Files with missing fonts
Files without bleed when the design reaches the edge
Canva share links instead of downloaded print files, unless the printer specifically asks for the link
Setup Checklist Before You Upload
Before uploading your file, confirm these basics:
The invitation is the correct final size.
Bleed is included if artwork reaches the edge.
Text stays inside the safe area.
The file is high resolution.
The file is exported as PDF Print when possible.
The back side is included if needed.
Fonts are embedded, outlined or flattened properly.
Photos look sharp at final size.
The design does not rely on screen-only effects.
QR codes scan from the proof.
All wording is final.
This checklist is boring in the best possible way. Boring file setup usually means fewer surprises later.
When Uploading Your Own Design Is The Right Choice
Uploading your own wedding invitations is a strong option if you already found a design you love, bought an Etsy template, hired a designer or made something custom in Canva.
It gives you more creative control than starting from scratch inside a printer’s template tool. It also lets you keep the design style you already chose while still getting professional printing, paper choices and proofing.
The tradeoff is that you are responsible for the file being set up correctly. That does not mean you need to become a print technician overnight. It just means you need to pay attention to size, bleed, resolution and proofing before approving the order.
Final Thoughts On Upload Your Own Wedding Invitations
The best upload-your-own wedding invitations start with a clean file and end with careful proof approval.
Canva, Etsy and designer files can all print beautifully when they are built at the right size, exported correctly and checked before production. The biggest mistakes are usually preventable: no bleed, low-resolution images, text too close to the edge, wrong file size or a proof that was approved too quickly.
If you upload your own wedding invitations through PrintInvitations, the free digital proof is there for a reason. Use it. Check the boring details. Then check them again. That tiny bit of patience can be the difference between “these look perfect” and “why is Aunt Linda’s address half missing?”