TLDR
- The easiest way to order custom wedding invitations on PrintInvitations is to make a few decisions in the right order.
- Start with the main invitation first, then add RSVP cards, details cards, or save the dates only if your guests actually need them.
- Choose either a template or your own finished design, personalize the wording and event details, then review the proof carefully before approval.
- Keep the main card focused. Put overflow information like parking, hotel blocks, shuttles, or your wedding website on a details card or website instead.
- If paper feel matters to you, spend a little time on stock and finish before you approve the final proof.
If you are ordering custom wedding invitations on PrintInvitations, the process gets much easier once you stop trying to solve every decision at once. You do not need to design the entire wedding suite in one heroic sitting.
The better approach is simpler. Start with the main invitation, decide what belongs in print, choose the design path that fits you best, and review the proof carefully before anything moves into production. That is how you end up with custom wedding invitations that feel personal, polished, and clear.
Start with the main invitation first
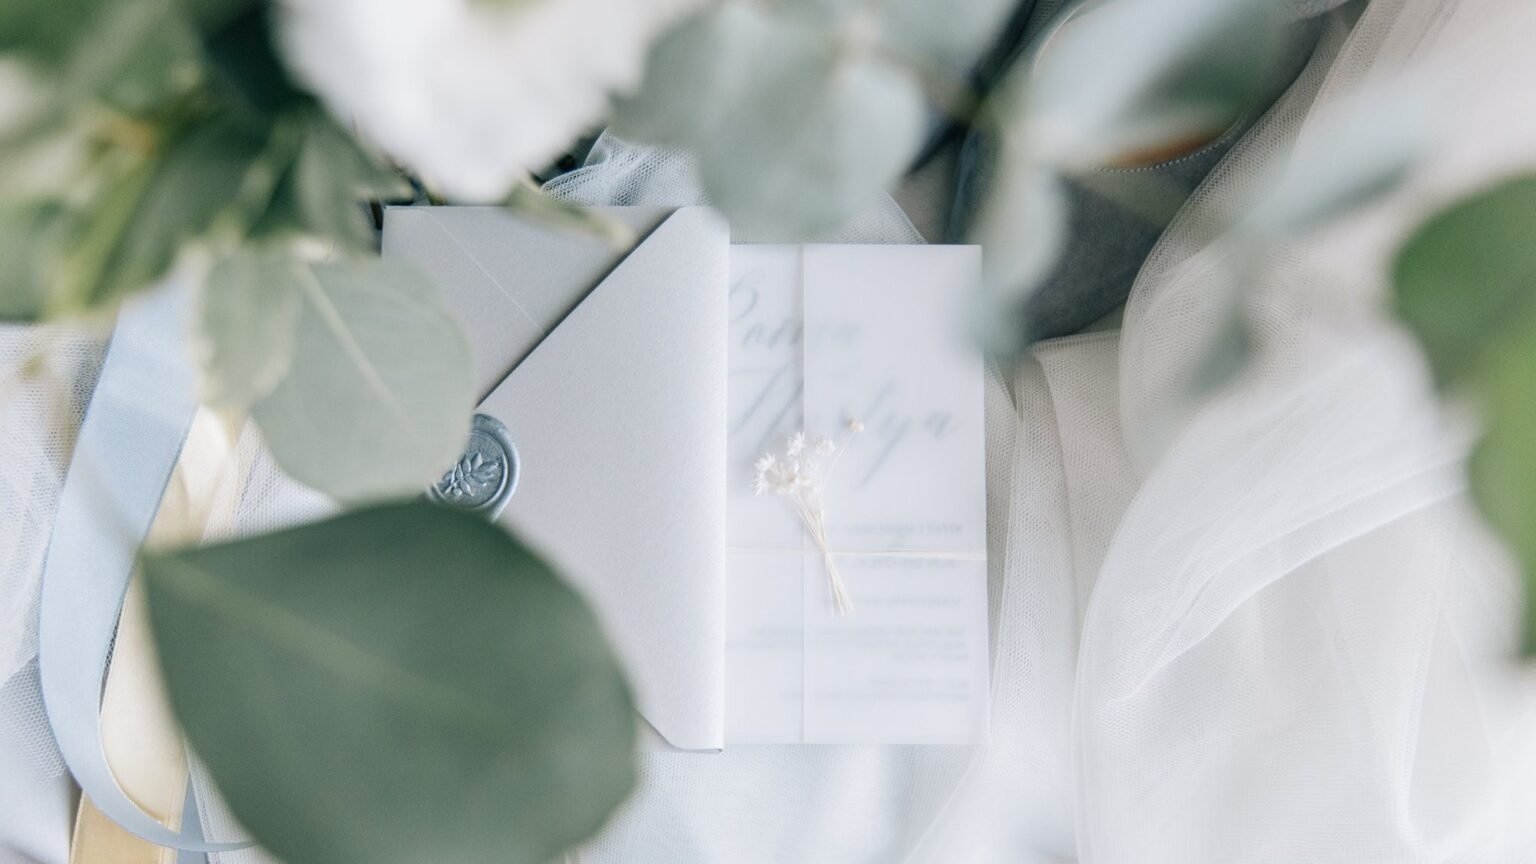
The main invitation does the most important job. It tells guests what the event is, when it is happening, and where they need to be. It also sets the tone for everything that follows.
That is why it helps to begin with the live Wedding Invitations collection and treat that card as the center of the suite.
In most cases, the main invitation should cover:
- the couple’s names
- the wedding date
- the ceremony time
- the venue name
- the city and state
- RSVP instructions, or a clear direction to the RSVP method
That is the core structure. If you try to cram in hotel blocks, parking instructions, shuttle timing, dress code notes, after-party details, registry language, and your entire life story, the invitation starts doing too many jobs badly.
This is one of those places where restraint helps. A wedding invitation should feel clear before it feels clever.
Choose a template or upload your own design
PrintInvitations supports both paths, and each one is useful for a different kind of customer.
Start with a template if you want the easier path
A template is usually the better choice if:
- you want a faster starting point
- you like having a layout already in place
- you want to personalize without building from scratch
- you are still deciding on tone, wording, or paper
Templates work especially well when you want something polished without turning the project into a second job.
Upload your own design if the artwork is already done
Uploading your own design makes more sense if:
- you already have finished artwork from a designer
- you created a custom venue illustration, monogram, or photo design
- you know exactly how you want the invitation to look
- you want PrintInvitations to handle the printing while you control the art direction
The tradeoff is straightforward. A template can save time and reduce decision fatigue. A custom upload gives you more control, but it also asks you to arrive more prepared.
If you are stuck between the two, start with the option that reduces the number of decisions you still need to make.
Decide what belongs on the invitation and what belongs elsewhere
A lot of wedding suite problems start when the main card becomes a storage unit for every possible detail.
Traditionally, the invitation stays focused on the event itself. Today, many couples still do that because it reads better, looks better, and keeps guests from squinting through a wall of text.
Use the main invitation for the essentials.
Use supporting pieces for the overflow.
A details card is often the right home for:
- reception information
- parking notes
- hotel accommodations
- shuttle timing
- dress code
- extra event locations
- wedding website information
- RSVP instructions if they need more explanation
If your guests need more than the main card can comfortably hold, a details card is not overkill. It is structure.
Personalize what actually matters
One of the best things about custom wedding invitations is that you do not need to settle for wording or styling that feels generic. But personalization works best when it is intentional.
Start with the items that truly affect the guest experience:
- names
- date and time
- venue details
- RSVP deadline or instructions
- reception line
- wedding website, if you are including one in print
Then think about tone.
A formal wedding can support more traditional wording and a more classic layout. A modern wedding usually works better with cleaner language and less ceremony in the phrasing. Neither option is inherently better. The right choice is the one that sounds like your event.
The same goes for design changes. You do not need to edit every font, color, and line break just because you can. In many cases, a few thoughtful changes do more than a full redesign done in a panic.
Pick paper and finish in human terms
Paper decisions are easier when you stop thinking in abstract print jargon and start thinking about how you want the invitation to feel in someone’s hand.
If you want a clean, crisp, modern look, smoother stock is often a strong fit.
If you want a softer or more classic feel, textured stocks can add warmth and character.
If you want a dressier effect, pearlescent stock or foil accents can add a little more presence.
Finish matters too. A softer matte look feels different from gloss or satin, even when the design stays the same.
The tradeoff is simple. Specialty stock and finishing can elevate the final piece, but they can also add cost and may not suit every design. A simple layout on the right paper often beats an overworked design trying to impress everybody.
And if paper feel matters a lot to you, this is where a physical proof or sample starts to make sense.
Review the proof like a guest, not like the couple
Every order includes a proofing step, and this is the part you do not want to rush. Before approving anything, it is worth reading through the Proofing & Personalization page so you know what to expect.
When the proof arrives, do not just check whether it looks familiar. Read it like you are a guest seeing it for the first time.
Ask:
- Do I know who is getting married?
- Do I know exactly when the ceremony starts?
- Do I know where to go?
- Do I understand what happens after the ceremony?
- Do I know how and when to RSVP?
Then do one more pass for the small things people miss all the time:
- spelling of every name
- date and day of week
- venue address
- punctuation
- website spelling
- readability of small text
A digital proof is excellent for catching wording, layout, and clarity issues. If you care deeply about paper weight, texture, or finish, a physical proof or sample gives you a better read on the final feel.
Give yourself more buffer than you think you need
Even a smooth ordering process still includes decisions, proof review, production, envelope addressing, and mailing. That means your real deadline is not the wedding day. It is the day you need the invitations in hand and ready to go out.
The most common timing mistake is treating checkout like the finish line. It is not. Proof approval matters. Assembly matters. Mailing matters.
A little buffer gives you room to catch mistakes before they become expensive or stressful.
A simple workflow for custom wedding invitations
If you want the shortest version of the process, use this:
- Choose the tone of the wedding.
- Decide what belongs on the main invitation.
- Pick a template or upload your finished design.
- Personalize the wording and event details.
- Choose paper and finish based on how you want the piece to feel.
- Review the proof slowly and carefully.
- Approve only when every detail is right.
That is really the heart of it. Custom wedding invitations do not need to feel complicated. They need to feel considered.
FAQs
Can I start with a template and still make the invitation feel personal?
Yes. In many cases, that is the best route. A good template gives you structure, and your wording, colors, event details, and paper choices are what make it yours.
Should I put my wedding website on the main invitation?
You can, but it is often cleaner on a details card, RSVP card, or another supporting piece, especially if the main invitation already has a lot to carry.
Do I need a details card for every wedding?
No. If the main invitation covers everything guests need, you may not need one. But if you have travel notes, parking instructions, dress code, multiple locations, or website information, a details card is often the cleaner choice.
Is a digital proof enough, or should I order a physical proof?
A digital proof is usually enough for checking wording, layout, and overall clarity. A physical proof or sample is more helpful when paper feel, finish, or color response matters to you.
What is the biggest mistake people make when ordering custom wedding invitations?
Trying to solve everything on the main card, then approving the proof too quickly. Clarity and careful review prevent a surprising number of avoidable problems.