
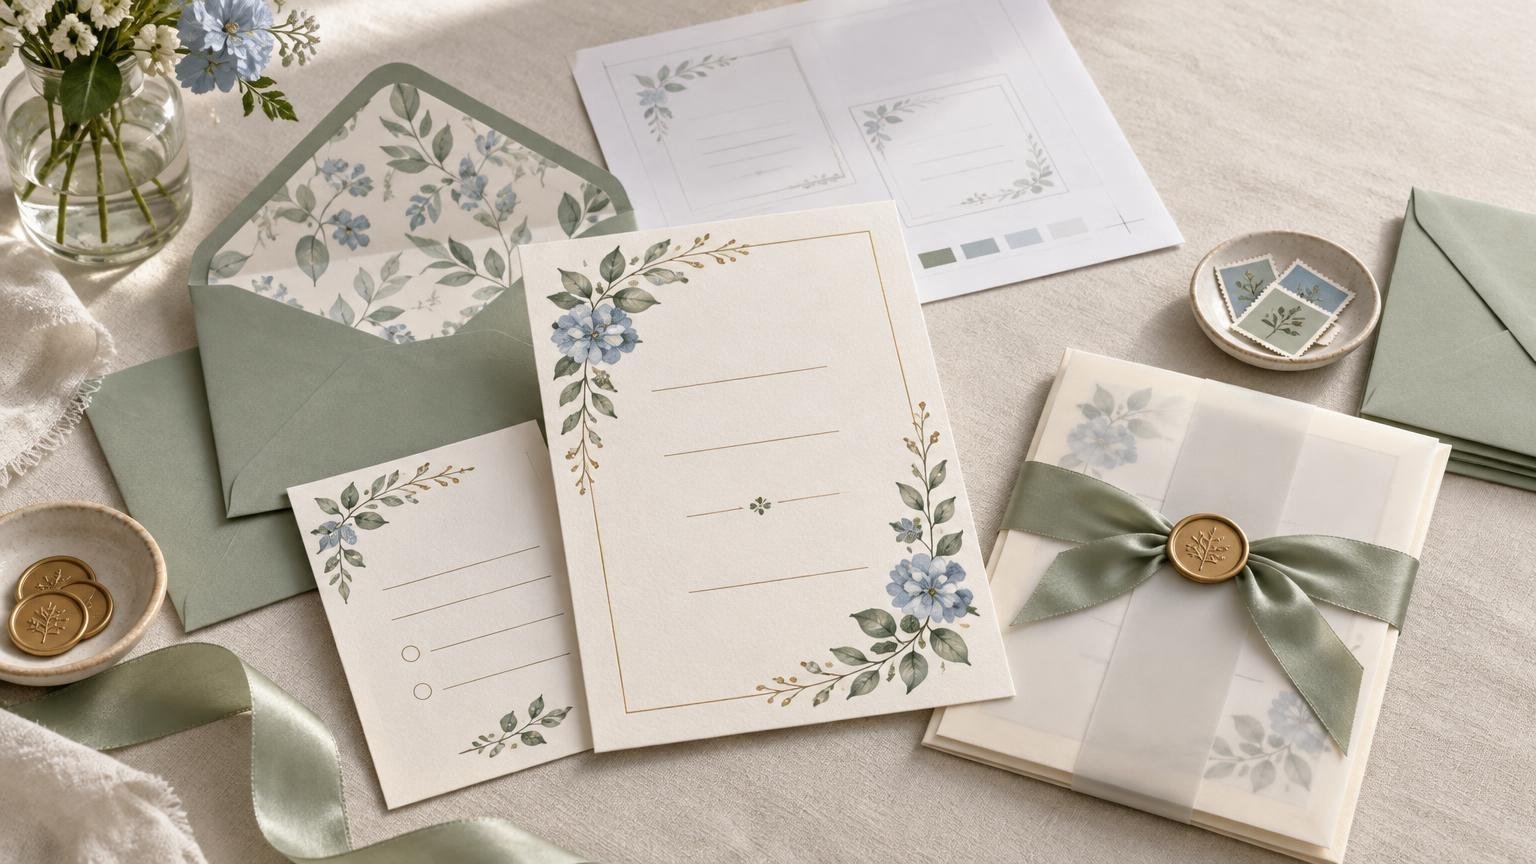
TLDR
Start with the guest list and the information guests need, then choose the design, paper and extras. A straightforward flat card is enough for most engagement parties. Add a details card only when parking, attire, transportation or another logistical point would crowd the invitation. Before ordering, count households rather than individual guests, inspect the digital proof carefully and test the fully assembled envelope for weight, thickness and machinability.
Decide what the invitation needs to accomplish
Engagement party invitations should make the celebration feel intentional while answering the questions that determine whether guests can attend. The design can be formal, playful or understated, but the essential information should not require interpretation.
- The engaged couple’s names
- A clear invitation to the engagement party
- The date and start time
- The venue name and complete address
- The host names, when relevant
- An RSVP method and deadline
- Any necessary attire, access, parking or transportation information
Keep the main card focused on the invitation itself. If the party has complicated directions, limited parking, a dress code, transportation arrangements, a website or a second location, move those points to a separate details card. That gives the logistical information room without reducing the main wording to tiny type.
A printed RSVP card can be useful for a formal dinner, a guest list that includes people who may not respond online, or an event requiring meal selections. It can include a guest-name line, accept and decline options, an RSVP deadline, return instructions and meal choices when needed. For a casual cocktail party, a phone number, email address or event website on the main card may be simpler.
Choose wording that fits the actual hosts
Engagement-party wording is flexible. Tradition can inform the wording, but clarity matters more than forcing every celebration into the same formula. Name the hosts if that information is useful, and avoid wording that leaves guests wondering whether the invitation is for a proposal, an engagement announcement or a party.
Hosted by parents or family
“Please join Elena and Marcus Rivera for an engagement party honoring Sophia Rivera and Daniel Lee” is clear and adaptable. Follow it with the date, time, venue, address and response information.
Hosted by friends
“Celebrate the engagement of Priya Shah and Noah Bennett with cocktails and dinner” works well when friends are organizing the event. The hosts can be listed below the event details or in a short line such as “Hosted by Ava, Jordan and Mia.”
Hosted by the couple
“We’re engaged! Please join us for drinks and dinner” is appropriate for a relaxed party hosted by the couple. There is no need to disguise who is hosting merely to make the invitation sound more traditional.
If attire needs explanation, use language guests can act on, such as “cocktail attire,” “garden-party attire” or “casual outdoor celebration.” The aim is to reduce uncertainty, not to create a clever dress-code puzzle. For more examples, see this guide to dress-code wording on invitations and details cards.
Select the card format before refining the design
A flat rectangular invitation is the practical default. It provides enough space for the event details, fits familiar envelope formats and is easier to assess for postage than an unusually shaped or heavily embellished piece. A 5-by-7-inch flat card is one commercially available engagement-party format, and two-sided printing may provide room for supplementary information. That example does not make 5 by 7 inches mandatory; confirm the exact card and matching envelope dimensions offered by your printer.
| Format choice | Best use | Point to verify |
|---|---|---|
| Single-sided flat card | Simple parties with short wording | Readability at the final printed size |
| Two-sided card | A few extra details without another insert | Guests will notice the reverse side |
| Invitation plus details card | Parking, attire, travel or multi-location information | Combined thickness and postage |
| Invitation plus RSVP card | Formal responses or meal selections | Return method and RSVP deadline |
| Square or specialty shape | A design-led presentation | Envelope fit and possible nonmachinable postage |
Do not solve a crowded layout by shrinking the type until it is uncomfortable to read. Shorten the wording, use the reverse side or add a details insert. The invitation should remain legible under ordinary indoor lighting, not only when enlarged on a design screen.
Match the paper to the design and mailing plan
Paper affects color, texture, stiffness and how substantial the invitation feels. PrintInvitations currently describes smooth, heavier, felt, eggshell and pearlescent stocks, along with natural, UV matte, UV gloss, satin and foil options; availability varies by product. Review the current choices for the specific invitation rather than assuming every paper and finish can be combined.
Smooth stock is a sensible match for clean layouts and fine typography. Heavier cardstock adds a more substantial hand feel, while felt and eggshell stocks introduce visible and tactile texture. Pearlescent stock adds shimmer, and foil can create a metallic accent. If you are comparing materials more broadly, the guide to choosing invitation paper explains the practical tradeoffs.
Use specialty finishes selectively. Foil can emphasize names, a date or one small design feature, but covering every decorative element in metallic detail can compete with the information. Decide whether foil is worth it based on the design, budget and desired effect rather than treating it as a requirement for a formal party.
Order by household, then add extras
The number of guests is not usually the number of invitations. Build a mailing list and count the addresses or households receiving separate envelopes. Give adult children, unrelated roommates and guests at different addresses their own invitations when appropriate for your list.
Add extras for addressing mistakes, damaged envelopes, late additions, keepsakes and a copy for the photographer or event album. The right buffer depends on the size and stability of the guest list. Ordering a modest surplus with the main run is generally less disruptive than discovering that several additional cards are needed after production.
Treat the proof as the final inspection
PrintInvitations states that personalized templates and a free digital proof are part of its process. It identifies the proof as the place to review names, spelling, date, time, venue, address, wording, layout and other personalization; physical proofs and samples are available for a nominal fee.
Check the proof slowly and ask another person to review it independently. Read the text once for spelling and grammar, once for factual details and once for layout. Confirm the day of the week against the calendar, check the address against the venue’s own information and inspect line breaks around names, times and web addresses.
- Both partners’ names and preferred spelling
- Party date and correct day of the week
- Start time and any stated end time
- Venue name, street address and city
- Host names
- RSVP deadline and response destination
- Website, email address, phone number or QR destination
- Attire, parking and access notes
- Quantity, card size, paper, finish and envelope selection
This inspection matters because PrintInvitations states that approved custom orders are not returnable or refundable for customer-supplied wording, spelling, dates, addresses, incorrect quantities, mistakes appearing in an approved proof or ordinary screen-to-print variation. Its policy separately addresses production, fulfillment and shipping errors. Approval should therefore mean that every printable detail has been checked, not merely that the design looks attractive.
Build the schedule backward from the party
For a local engagement party, a practical starting point is to have invitations in guests’ hands about four weeks before the event. Allow more notice when many guests must travel, the party falls near a major holiday or the RSVP count controls catering and seating.
Do not treat the printer’s production estimate as the complete schedule. Set aside time for design, proof review, revisions, production, shipping, addressing, assembly and postal delivery. PrintInvitations currently states that most orders are produced in three business days or less and that most ship within one business day, while noting that order size, customization, proof approval and seasonal demand can affect timing. It lists several UPS and USPS delivery methods. Confirm the current estimate for the actual order rather than planning around the fastest published possibility.
- Finalize the guest list and collect mailing addresses.
- Choose the format, wording, paper and envelope.
- Submit the design or personalization.
- Review and approve the proof only after checking every detail.
- Allow for production and shipping variability.
- Address and assemble one complete sample before finishing the batch.
- Have the sample weighed and checked for postage.
- Mail with enough time for delivery and responses.
Check postage using the finished envelope
Postage depends on the completed mailpiece, not the invitation card by itself. Assemble the card, inserts, RSVP envelope, liner and embellishments exactly as guests will receive them, then measure and weigh that sample.
The current USPS First-Class Mail letter guidance lists letter dimensions of 3.5 to 6⅛ inches high, 5 to 11½ inches long and 0.007 to ¼ inch thick, with a maximum letter weight of 3.5 ounces. Pieces outside the letter limits may be priced as flats or parcels depending on their physical characteristics. USPS currently lists a 1-ounce single-piece letter at $0.82, each additional ounce through 3.5 ounces at $0.29 and a 1-ounce flat at $1.69. Verify prices immediately before mailing.
Shape and construction matter too. The USPS guide to sending letters explains that square, vertical, rigid, lumpy, clasped, string-tied, buttoned and other unusually shaped envelopes may be nonmachinable. USPS currently lists a $0.49 nonmachinable surcharge, but the final treatment depends on the complete envelope’s shape, thickness, rigidity and weight. A large envelope that is rigid, nonrectangular or unevenly thick may be priced as a parcel rather than a flat.
Wax seals, bulky knots, thick layered inserts and rigid decorations can therefore affect more than appearance. Take a fully assembled sample to a post office for assessment before buying postage for the entire batch. The broader guide to invitation postage and stamp requirements covers the factors to check.
The practical final decision
For most engagement parties, choose a readable rectangular card, include only the information guests need and use an insert only when it improves clarity. Select paper for the desired feel without losing sight of envelope fit and postage. Count households, order a sensible number of extras and make the proof review a deliberate final check.
Before placing the order, verify three things one last time: the printer’s current product and production details, the accuracy of every event detail and the postage required by one fully assembled envelope. Those checks do more to prevent reprints, remailing and late invitations than any decorative upgrade.
References
- Wedding Details Cards – PrintInvitations
- Wedding RSVP Cards – PrintInvitations
- Engagement Party Invitations | Zazzle
- Paper & Print Options – PrintInvitations
- Proofing & Personalization – PrintInvitations
- Refund and Returns Policy – PrintInvitations
- Turnaround Time & Shipping – PrintInvitations
- faq.usps.com
- How to Send a Letter or Postcard | USPS