
TLDR
Choose a readable design, state exactly what guests need to know, and count invitations by household rather than by guest. Order early enough to allow for proof review, production, shipping, addressing, and mailing. Before approving the print proof, verify every name, date, time, address, RSVP detail, and line that might accidentally reveal the surprise. Assemble one complete invitation before buying postage because shape, weight, thickness, and rigidity can change the mailing price.
Start with the guest’s practical questions
Gender reveal invitations do not require complicated etiquette. Their first job is to tell guests what is happening and make attendance easy. Include the parent or parents being celebrated, date, start time, full location, RSVP method, response deadline, and any instructions that materially affect the guest.
Useful optional details include whether the event is indoors or outdoors, whether children are invited, what guests should wear, and whether they are being asked to predict the result. If the reveal is part of a baby shower, say so clearly; otherwise, guests may reasonably assume the event is only a reveal party and arrive without expecting shower activities or gifts.
Simple wording patterns
- Join us for a gender reveal honoring Taylor and Jordan. Saturday, June 14 at 2:00 p.m. Please RSVP by May 31.
- Boy or girl? Cast your prediction and join us for the big reveal. Sunday, August 10 at 1:00 p.m. at 24 Garden Lane.
- A little one is on the way. Join Morgan and Casey as they share their exciting surprise. Please RSVP to Alex at 555-0100 by September 5.
- Team pink, team blue, or simply team baby? Wear your prediction and celebrate with us.
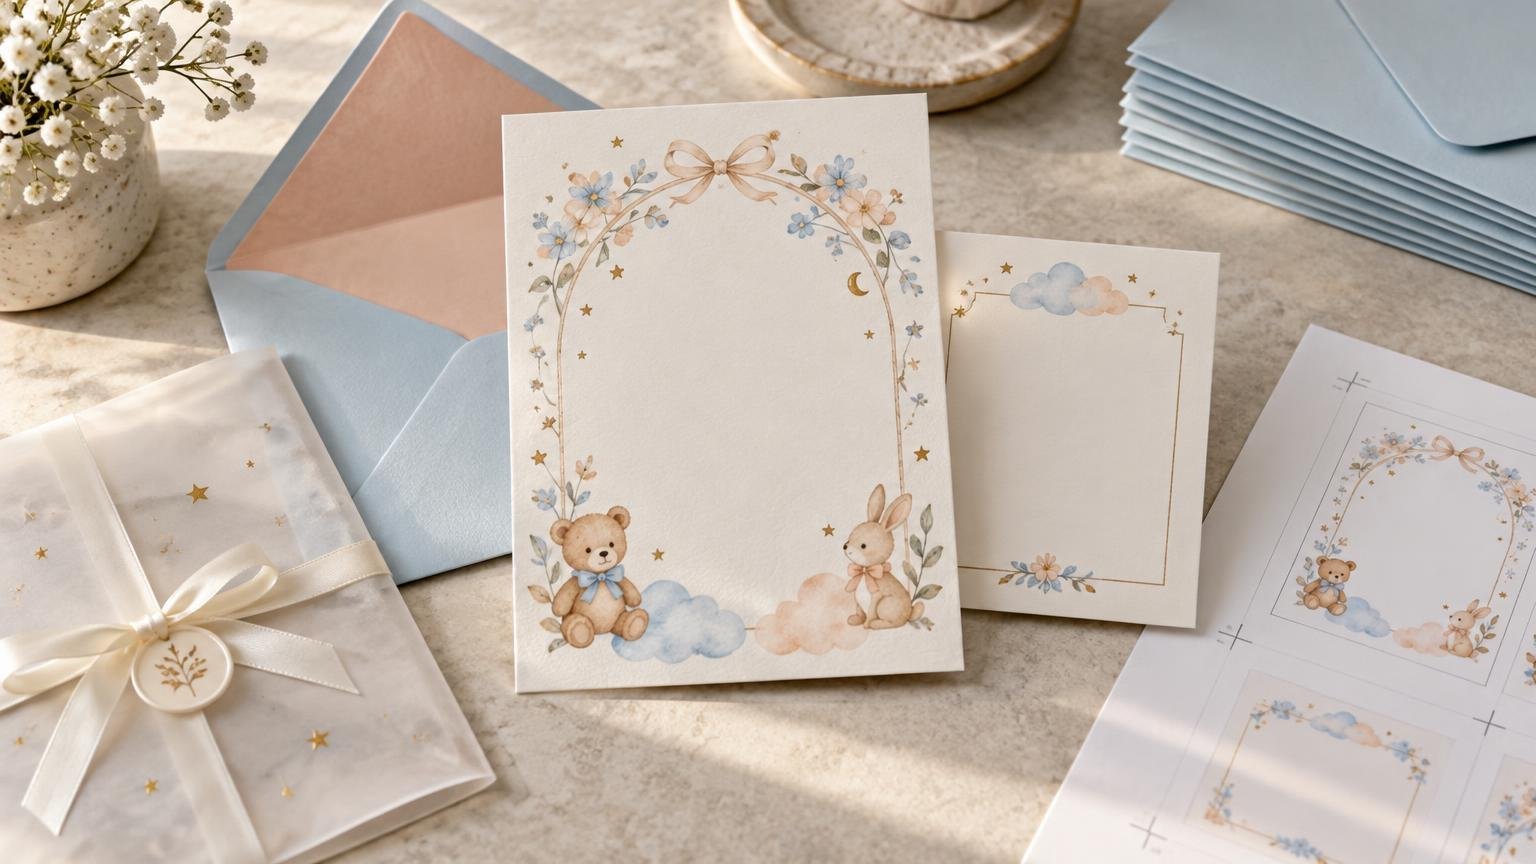
Traditional pink-and-blue wording is optional, not a rule. A neutral palette, baby-themed artwork, family photographs, sonogram imagery, or a broader “little one” concept can carry the theme without centering the design on two colors. Retail examples cover both neutral designs and familiar pink-and-blue treatments.
Choose a format that remains easy to print and mail
A standard rectangular card is usually the simplest option for envelopes and postal processing. Square cards, unusually rigid materials, thick embellishments, wax seals, bows, and bulky inserts may look distinctive, but they can also affect machinability or postage. If the invitation needs several paragraphs of instructions, move secondary information to the back or a separate insert rather than shrinking the type.
Paper should support the design rather than compete with it. Smooth stock suits small type, photographs, and crisp illustrations. Textured paper creates a more tactile effect but can soften fine details. Pearlescent stock introduces sheen, while heavier cardstock adds substance and may increase the assembled piece’s weight or rigidity. Available paper and finish combinations vary by product; PrintInvitations currently describes smooth, felt, eggshell, pearlescent, heavier-cardstock, matte, gloss, satin, and foil choices across its offerings. For a broader decision framework, see how to choose invitation paper and the comparison of textured and smooth invitation stock.
If you are designing the card yourself, confirm the printer’s finished size, bleed, safe area, accepted file type, and image requirements before building the artwork. A design exported at the wrong dimensions may be enlarged, cropped, or surrounded by unintended borders. If your home printer struggles with cardstock or borderless output, compare its limits with the practical tradeoffs in this guide to printing invitations at home.
Treat the proof as the last chance to prevent a reprint
PrintInvitations allows customers to begin with a customizable template or upload finished artwork, and it states that every order receives a free digital proof before production. A digital proof is useful for content, layout, placement, and personalization. A printed sample serves a different purpose: it can show how the color, texture, sheen, and perceived paper weight work together in physical form.
Check the proof in separate passes rather than trying to spot everything at once:
- Read every line aloud and check spelling, punctuation, names, and pronouns.
- Compare the date with a calendar and confirm that the written day matches the numeric date.
- Verify the start time, venue name, street address, unit number, city, and ZIP Code.
- Test the RSVP phone number, email address, URL, or QR destination.
- Confirm that important text is not crowded against the trim edge.
- Ask a second person who knows the secret to check that the artwork or file name does not reveal it unintentionally.
- Review the ordered quantity, card size, paper, finish, envelope selection, and shipping address before approval.
That final check matters because approved custom orders generally are not returnable for customer-supplied wording, address, date, quantity, or approved-proof errors. PrintInvitations says it reviews production, fulfillment, and shipping-damage problems for replacement when the error is on its side.
Order by household and add a practical buffer
Do not order one invitation per guest unless every guest receives separate mail. Start with the number of households or mailing addresses. Then add copies for late additions, addressing mistakes, damaged envelopes, keepsakes, the photographer, and anyone who may need a replacement mailing. A modest buffer is usually less expensive and less stressful than arranging a tiny reprint close to the event.
Build the schedule backward from the party. Shutterfly suggests mailing gender reveal invitations about four to six weeks before the event, but that is retailer guidance rather than a postal rule. Add design time, proof revisions, production, shipping to you, addressing and assembly, and postal transit before that mailing point. PrintInvitations says production and carrier transit are separate and that proof approval, customization, order size, seasonal demand, and shipping method can affect the total schedule. Never treat a production estimate as the date invitations will arrive in guests’ mailboxes.
Check the finished invitation before buying postage
Postage should be based on one fully assembled and sealed invitation, not the empty envelope or card alone. Under the current USPS limits, a letter can be no more than 11½ inches long, 6⅛ inches high, ¼ inch thick, and 3.5 ounces. Pieces that exceed letter limits may be priced as large envelopes, while rigid, nonrectangular, or unevenly thick pieces can receive different treatment. Review the official USPS First-Class Mail size guidance before mailing.
The current USPS retail price table lists a stamped one-ounce First-Class Mail letter at $0.82, an additional-ounce price of $0.29, and a $0.49 nonmachinable surcharge for applicable letters. Postal prices change, and the correct amount depends on the finished piece’s type, weight, dimensions, shape, and surcharge status. Recheck the current table or take a completed invitation to the post office rather than assuming one stamp is enough. The same principles covered in this invitation postage guide apply even when the event is not a wedding.
Finish with a complete pre-mailing check
- Confirm the final household count and extra-copy allowance.
- Approve wording only after a second person checks the proof.
- Keep any confidential reveal information away from visible filenames, notes, and artwork layers.
- Order envelopes that match the finished card size.
- Assemble one complete piece and measure or weigh it as mailed.
- Verify current postage for its shape, thickness, rigidity, and weight.
- Allow time for addressing, sealing, and careful handling; protecting invitations from scuffs and bent corners matters after printing too.
- Keep several invitations and envelopes unaddressed for late additions or replacements.
The best gender reveal invitation is not necessarily the one with the most elaborate finish. It is the one guests can read, understand, and receive on time. Settle the wording first, choose a print format that supports it, inspect the proof carefully, and verify postage using the completed piece. Those steps do more to protect the event deadline than any decorative upgrade.
References
- Gender Reveal Party Invitations | Shutterfly
- Paper & Print Options – PrintInvitations
- PrintInvitations | Custom Invitations, Announcements & Cards
- Proofing & Personalization – PrintInvitations
- Printed Sample vs Digital Proof: What Actually Helps Before You Order? – PrintInvitations
- Refund and Returns Policy – PrintInvitations
- Turnaround Time & Shipping – PrintInvitations
- faq.usps.com
- Notice 123 | Postal Explorer