
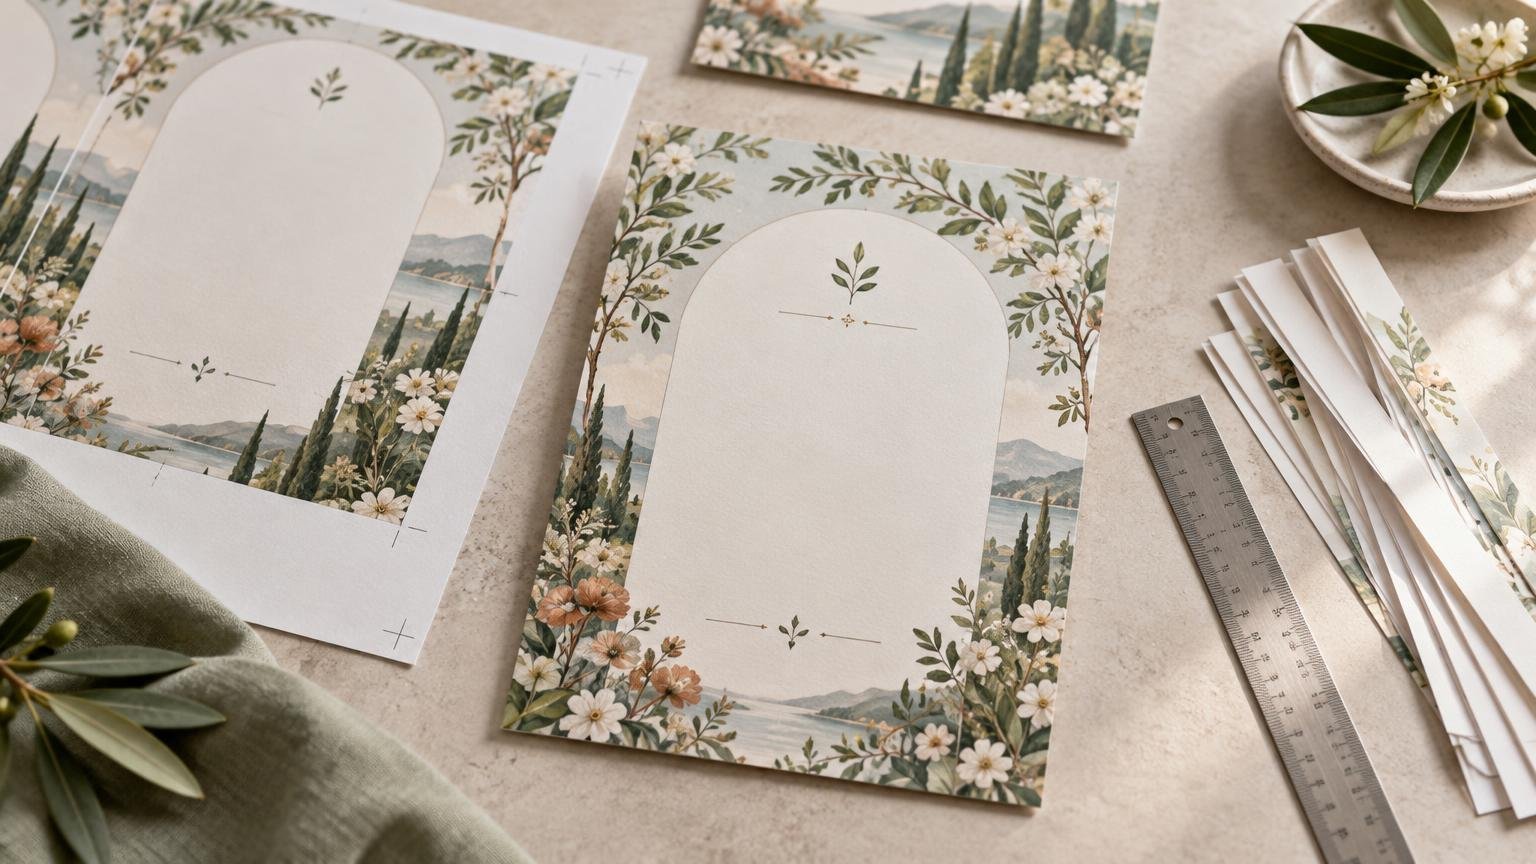
TLDR: There are two reliable ways to print borderless 5×7 invitations. Use a printer that explicitly supports borderless printing on 5×7 paper, or print the design larger than 5×7 and trim it to the finished size. Native borderless printing is convenient but may enlarge and crop the artwork slightly. Oversized printing requires more work, but it usually gives you better control over full-bleed backgrounds and precise edges.
If you are learning how to print borderless 5×7 invitations, begin by checking the printer rather than the design. Confirm that your exact printer model, driver, operating system, and chosen paper type support borderless 5×7 output. If they do not, do not try to defeat the printer’s unprintable margins. Plan to print on a larger sheet and trim each invitation instead.
Choose the right borderless printing method
A borderless invitation has artwork extending completely to the cut edge, with no unintended white margin. You can create that result through direct borderless printing or through full-bleed printing followed by trimming.
| Method | Best when | Main tradeoff |
|---|---|---|
| Direct borderless printing | Your printer officially supports borderless 5×7 paper and can feed your chosen stock | The printer may enlarge and crop the design near the edges |
| Oversized printing and trimming | You need dependable edge coverage or your printer cannot print borderless 5×7 cards | Requires larger sheets, cutting tools, and additional assembly time |
| Professional printing | You have a large quantity, a firm deadline, difficult stock, or a design that must be cut consistently | Costs more than a successful home workflow but reduces feeding, trimming, and alignment work |
Option 1: Print directly on pre-cut 5×7 stock
Choose this route only when your printer’s manual or driver lists 5×7 as a supported borderless paper size. Load the paper through the feed path recommended for heavier media, select the exact 5×7 page size, and enable the borderless option. Paper size and media type are separate settings: selecting 5×7 does not necessarily enable borderless output, and selecting a heavy-paper setting can sometimes change which borderless options are available.
Many borderless systems expand the image beyond the paper edge so that small feeding variations do not leave a white strip. Epson explains that this expansion can crop part of the image; reducing expansion can instead allow a small border to appear. Keep names, dates, QR codes, thin frames, and other important details comfortably inside the edge for that reason. Epson’s borderless-print troubleshooting guidance explains this crop-versus-border tradeoff.
Option 2: Print oversized and trim to 5×7
Oversized printing is the more dependable general method when exact edge appearance matters. Extend every background color, photograph, or decorative element past the final trim line. Print the invitation on a sheet larger than 5×7, then cut through that extended artwork to create the finished 5×7 card.
A common commercial starting point is 0.125 inch of bleed on every side. Under that convention, a 5×7 finished card has a 5.25×7.25-inch bleed-inclusive artwork area. That is not a universal home-printing or PrintInvitations requirement. Use the specifications supplied by the printer or template provider that will produce the job. Adobe’s guidance distinguishes the bleed area outside the page from the final page itself.
You can also arrange two invitations on a larger sheet if there is enough room for both bleed areas, crop marks, and the printer’s nonprinting margins. Do not assume two 5×7 cards will fit simply because their finished dimensions appear to fit mathematically. The required bleed and space for safe cutting also have to fit.
Set up the 5×7 invitation artwork correctly
Treat finished size, bleed, and safe area as three different zones. The finished size is the card after cutting: exactly 5×7 inches. Bleed is extra background artwork outside the cut. The safe area is the interior region where wording and other essential elements are protected from cropping or normal cutting variation.
- Extend photographs, solid colors, textures, and decorative patterns through the bleed area when they are meant to reach the edge.
- Keep event wording, addresses, QR codes, logos, and delicate borders well inside the trim line.
- Avoid placing a thin rectangular frame extremely close to the edge. Even a small shift in printing or cutting can make one side appear heavier than another.
- Check that all linked images are clear at their final printed size. Enlarging a small image to create bleed can expose softness or pixelation.
- Verify the document’s physical page dimensions after export. A file that looks correct on screen may not actually be set to 5×7 inches.
If your invitation came from an editable marketplace template, review its export settings and bleed instructions before changing the page dimensions. The guide to printing Etsy wedding invitation templates covers common file-setup problems. For a Canva design, use the workflow in how to print Canva invitations rather than relying on a screenshot or browser print command.
Print at the intended size without accidental scaling
Open the exported PDF and confirm its page dimensions before printing. Then choose the setting that matches your workflow. For a correctly sized 5×7 file going onto 5×7 stock, Actual Size or 100% normally preserves the document dimensions. For a bleed-inclusive file, the selected paper must be large enough for the entire artwork and any crop marks.
Do not select Fit automatically. Adobe explains that Fit scales a PDF page to the printable area, while Actual Size prints without scaling and may crop content that does not fit the selected sheet. In other words, Actual Size is not a repair tool for a mismatched document and paper size. Confirm both dimensions first. Adobe’s PDF page-sizing guide provides a useful explanation of these print controls.
- Confirm the PDF page size and orientation.
- Select the physical paper size loaded in the printer.
- Choose the correct media type for the stock.
- Enable borderless mode only if the printer supports it for that size and media combination.
- Use Actual Size or 100% when the file is correctly dimensioned.
- Print one test rather than sending the full quantity.
- Measure the result with a ruler and inspect every edge before continuing.
Test before using invitation cardstock
Run the first proof on ordinary paper. Draw a 5×7 outline if you are testing an oversized layout, cut it out, and place it in the intended envelope. Check the wording, crop, orientation, color, and envelope fit. The broader guide to printing invitations at home covers printer limitations, test prints, trimming, and mailing preparation. PrintInvitations also recommends file inspection and plain-paper testing before committing to invitation stock.
Once the layout passes, test one sheet of the actual cardstock. A printer that handles ordinary paper may struggle with thicker, textured, coated, or curled stock. Confirm the printer’s supported media weight and feed path in its manual. Buy a small test quantity when possible before purchasing all the paper. The discussion of paper for printed invitations can help narrow the choice, but the printer’s documented limits should make the final decision.
Handle double-sided invitations carefully
Automatic duplex printing is not always available for small cards or heavy stock. Even when it is available, the front and back can shift relative to one another. Make a marked test sheet before using cardstock: write “top,” add an arrow, print the front, note how the sheet exits, and reload it for the back. This reveals which edge feeds first and whether the paper needs to be flipped on the long or short edge.
Keep the reverse design tolerant of minor movement. A back with centered wording or a broad background is easier to align than a thin border that must match the front perfectly. If registration is critical, professional production may be more economical than losing stock to repeated alignment tests.
Trim oversized invitations consistently
For a small quantity, use a sharp craft knife, metal ruler, and cutting mat, or a well-aligned paper trimmer. Crop marks should sit outside the finished card, not remain on it. Make the first two cuts while the relevant marks are still visible, then use the measured finished edges to guide the remaining cuts.
- Cut a single test card and confirm that it measures 5×7 inches.
- Use the first accurate card as a visual reference, not as the cutting template for every copy; repeated tracing can compound errors.
- Keep the stack small enough that sheets cannot slide during cutting.
- Replace dull blades, which can tear fibers and create fuzzy edges.
- Check cards periodically rather than waiting until the entire batch is finished.
If the quantity is large, calculate the real workload. Printing, drying, duplexing, trimming, quality checking, and cleaning paper debris can turn a seemingly inexpensive project into several hours of production. A local shop or specialist printer may be the better choice when consistency matters more than doing the work yourself.
Check one complete invitation before mailing
A 5×7 invitation does not automatically require a particular postage amount. Postage and machinability depend on the completed mailpiece, including the envelope’s dimensions, shape, weight, thickness, rigidity, and contents. Decorative closures, layered inserts, unusually rigid stock, or bulky embellishments can change how the piece is classified.
Assemble and seal one complete invitation exactly as a guest will receive it. Include every RSVP or details card, belly band, liner, and embellishment. Measure and weigh that finished sample, then check current USPS requirements or take it to a postal counter before buying postage for the full batch. This is more reliable than estimating from the invitation card alone.
When professional printing is the practical choice
Consider outsourcing when your printer lacks native borderless support, cannot feed the preferred paper, produces inconsistent duplex alignment, or would require extensive hand trimming. Professional printing is also sensible for dark full-bleed backgrounds, photo-heavy designs, tight deadlines, or quantities large enough that a home mistake would be expensive.
PrintInvitations says customers can personalize a template or upload artwork and review a free digital proof before production. Physical proofs and samples are also described as available for a fee. Verify current file specifications, sizes, paper choices, proofing terms, production timing, and shipping before ordering. Compare that route with home production based on the full workload, not only the initial print price. The guide to custom printed invitations versus editable templates provides a practical framework for that decision.
Final borderless 5×7 checklist
- Confirm whether the exact printer supports borderless 5×7 printing on the intended paper.
- Decide between direct borderless output and oversized printing with trimming.
- Set the finished card to 5×7 inches and add the required bleed separately when trimming.
- Keep wording and essential design elements away from the outer edge.
- Verify the exported PDF’s physical dimensions.
- Prevent unintended scaling by checking the paper and print settings together.
- Test first on plain paper, then on one sheet of the actual stock.
- Check front-to-back orientation before duplex printing the batch.
- Measure the first trimmed card and inspect the batch periodically.
- Assemble one complete mailpiece and verify current postal requirements before buying postage.
The best next step
The safest answer to how to print borderless 5×7 invitations is to match the production method to the equipment. Use native borderless mode only when your printer supports the exact size and stock, and leave room for the slight crop that borderless expansion can cause. Otherwise, print an artwork file with bleed on a larger sheet and trim it to 5×7. Before producing the full quantity, approve one physical card and one completely assembled mailing sample. Those two checks catch most of the mistakes that lead to reprinting or remailing.
References
- Border Appears on Borderless Prints
- helpx.adobe.com
- Adjust page size for printing PDFs in Acrobat | Adobe Acrobat
- How to Print Invitations at Home: Paper, Printer Limits, and When to Outsource – PrintInvitations
- faq.usps.com
- Notice 123 | Postal Explorer
- PrintInvitations | Custom Invitations, Announcements & Cards
- Proofing & Personalization – PrintInvitations